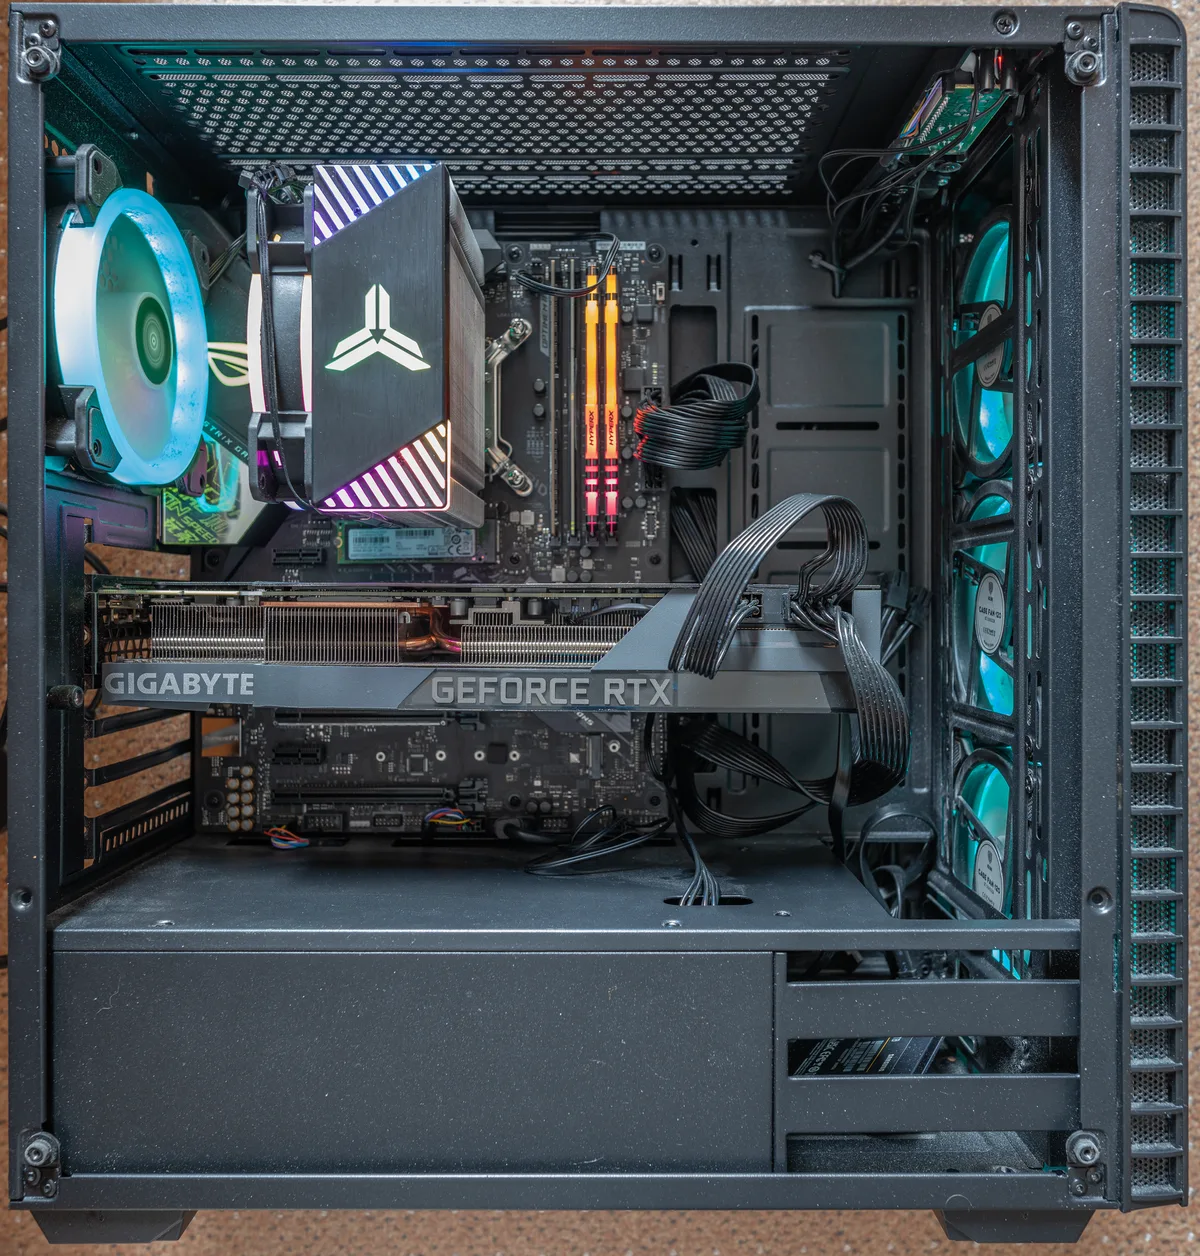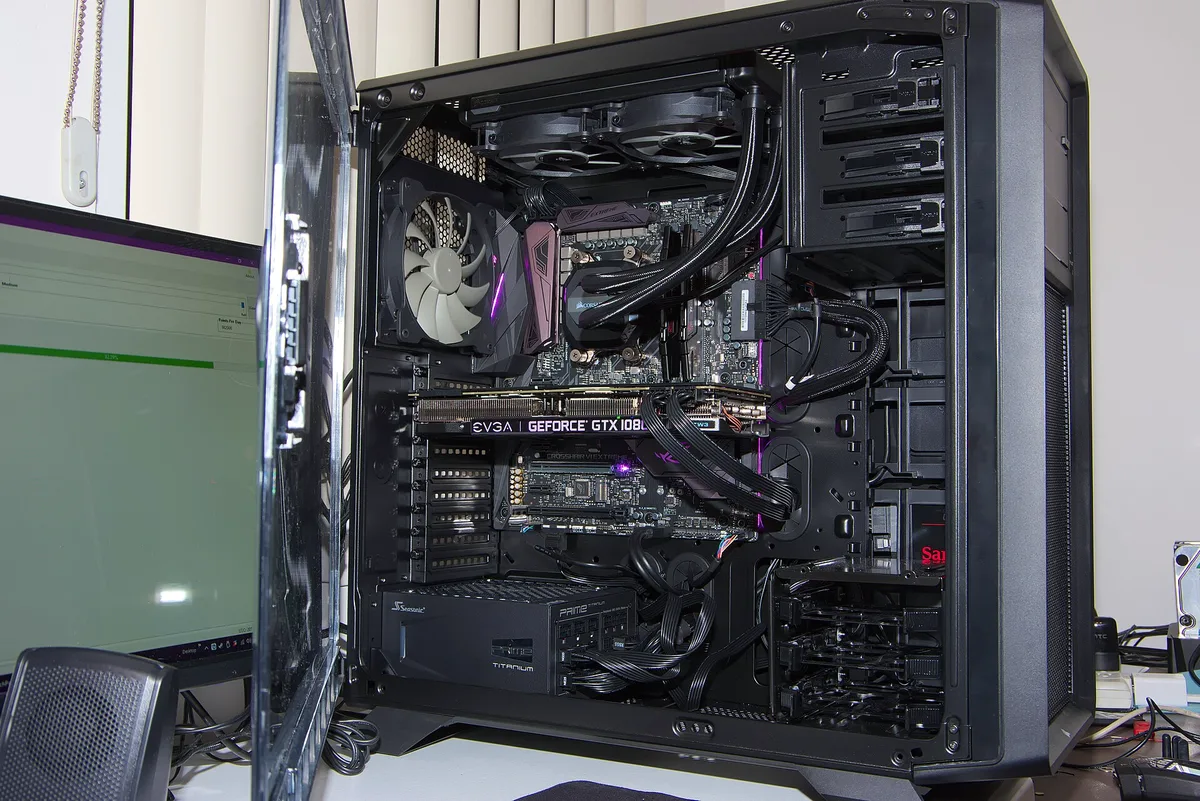
What makes a gaming rig look clean and run cool is the same thing: planning the cables before you screw in a single part. A tidy build routes power and data cables behind the motherboard tray, keeps the fan paths clear, and adds lighting only after the airflow works. Skip that order and you get a hot, tangled box that is miserable to upgrade.
The good news is that cable management is mostly habit, not skill. Modern cases give you a rear tray, cutouts, and tie points for exactly this job. The friction point is doing it twice: once to get the machine booting, and once more to make it neat. Budget the second pass and the whole build goes faster.
If you are new to the wider world of hardware coverage, the short version is this: airflow and cable routing affect temperatures and noise. RGB affects nothing but your evenings. Both are worth doing, in that order.
Why does cable management matter for cooling?
Air needs a path. Most cases are designed so fans pull cool air in at the front and push warm air out at the back or top. A bundle of unused cables draped across the middle of that path acts like a speed bump. It slows the flow, creates dead pockets, and gives dust somewhere to settle.
The fix costs nothing but time. Route the bulk of your cables through the cutouts behind the motherboard tray before you connect anything. Plug in only the cables you actually need — an unused set of SATA power leads coiled behind the tray is one less thing blocking the rear exhaust. Then use the tie points or the built-in channels to hold the bundle flat against the case wall, not floating over the graphics card. We covered a connected angle in 4K at 144 Hz: What It Actually Takes to Run, and Who Should Still Skip It.
One practical check: look at the case from the side with the panel off. If you can see a clear lane from the front intake to the rear exhaust, with no cable crossing it, you are done. If a fat bundle sits right where the graphics card exhausts, move it.
What actually causes cable chaos in a first build?
Three things, and none of them is a lack of talent. First, connecting cables before routing them — it is much easier to thread a cable through a cutout unplugged than to unplug, reroute, and replug later. Second, using the modular power supply's sockets as a to-do list: only attach the leads you need, and leave the spares in the box. Third, skipping the second pass. Nearly every builder wires the machine up to test it, then leaves the mess in place because the panel goes back on anyway.
A short routine keeps it under control:
- Plan the route before connecting anything: which cutout each cable group will use.
- Connect and route one group at a time — motherboard power, then CPU power, then the graphics card, then drives and fans.
- Tie each group flat behind the tray as you go, not at the end.
- Boot and test before the final tidy, so you are not re-tracing a fault through a sealed case.
Velcro straps beat plastic zip ties for most people. They release when you upgrade a component in a year, which is exactly when the mess would otherwise start again.
Where should RGB fit into the plan?
Last. Lighting is the fun part, and it is also the part that generates the most cables — fan hubs, controller boxes, and SATA power for addressable strips. Treat every RGB accessory as one more cable to route, and you will not undo your tidy work.
It helps to know what you are actually buying. RGB stands for red, green, and blue: the three light channels that mix to make every colour an LED shows. As Wikipedia's RGB color model entry explains, it is an additive model — the three primary colours of light are combined in varying intensities to reproduce a wide range of colours, and equal full intensity of all three produces white. Each channel is usually controlled with a value from 0 to 255, which is why your lighting software shows sliders in that range; the RGB colour chart at RapidTables lays out how those values map to hex codes and named colours, from pure red at (255, 0, 0) to grey at (128, 128, 128).
Two small notes save headaches. RGB is device-dependent: the same colour value can look slightly different on fans from two different makers, because the LEDs themselves differ. And if a product page mentions ARGB rather than RGB, that is the addressable variant, where each LED can be set individually — it needs a compatible controller header, so check before you buy.
How many fans does a gaming PC actually need?
Fewer than the product photos suggest. The goal is a path, not a wind tunnel: at minimum, cool air entering at the front and warm air leaving at the rear or top. Adding more fans past that point yields smaller and smaller gains, and every extra fan adds a cable, a noise source, and a dust filter to clean.
What matters more than fan count is where the cables and hardware sit relative to that path. A graphics card exhausts into the space around it; if your cable bundle occupies that space, the card recirculates its own heat. The same logic applies to consoles, by the way — our guide to console cooling and noise covers the same airflow principle in a smaller box. For related coverage, see Legal Retro Handhelds: Playing Your Own Games on Emulation Hardware, the Right Way.
Our analysis: spend your first spare budget on one good front intake fan rather than three cheap ones with rainbow rings. Then spend the rest on nothing, and enjoy the quiet.
What this means for your first build
The order of operations is the whole trick. Route and tie cables as you connect them, keep the intake-to-exhaust lane clear, boot and test before the final tidy, and add lighting last with its own cables accounted for. Do that and the build will look like it was done by someone with far more experience than you — which is the point.
The mistakes worth avoiding are all cheap to fix now and annoying to fix later: an unused cable bundle over the graphics card, zip ties you have to cut to upgrade, and an RGB hub zip-tied in the middle of the airflow path. None of them affects whether the machine boots. All of them affect whether you enjoy opening the side panel a year from now.
The takeaway
A clean gaming rig is not a styling exercise. It is airflow management with a lighting budget. Route first, tie flat, test before you seal, and treat every glowing accessory as a cable with a colour problem. If your build runs cool and quiet and the cables stay out of sight, the RGB was never the hard part.